What is the installation process for Snap-in Tubeless Tire Valves?
 2024.10.29
 Industry news
1. Prepare tools and materials
Before installing the SNAP-IN TUBELESS TIRE VALVES, make sure you have all the necessary tools and materials. These tools include tire removal tools (such as pry bars), air pumps, wrenches, valve installation tools, and soapy water (for checking for leaks). In addition, prepare new SNAP-IN TUBELESS TIRE VALVES and sealing washers to ensure that all necessary parts are replaced during the installation process. Check the condition of the tire and rim. If there is any damage or wear, it is best to repair or replace it first. Make sure the working environment is clean and has enough space for easy operation to avoid the inconvenience of construction in a small space.
2. Remove the tire
Use the tire removal tool to carefully remove the tire from the rim. First, safely support the vehicle on a stable ground and use a jack to lift the body. Make sure the wheel is free before removing the tire. Use a wrench to remove the tire nuts and turn them clockwise to loosen them. Then, use the tire removal tool to gradually pry up the tire from one side of the rim, making sure not to damage the tire or rim during the operation. Carefully separate the entire tire from the rim, especially near the valve to prevent damage to the valve. Once removed, set the tire aside for subsequent valve installation.
3. Clean the rim
Before installing the new SNAP-IN TUBELESS TIRE VALVES, it is important to clean the old valve hole on the rim. Use a clean cloth or brush to remove dust, dirt, rust or any other debris from inside and outside the hole. This will ensure that the new valve can seal well with the rim. Make sure that no small particles or debris are left in the valve hole to avoid affecting the sealing performance. Especially in humid environments, rims may rust, so carefully inspect the condition of the rim. If severe rust or damage is found, it is best to consider replacing the rim. After cleaning, check the rim for obvious damage to ensure that it is safe to use.
4. Insert the valve
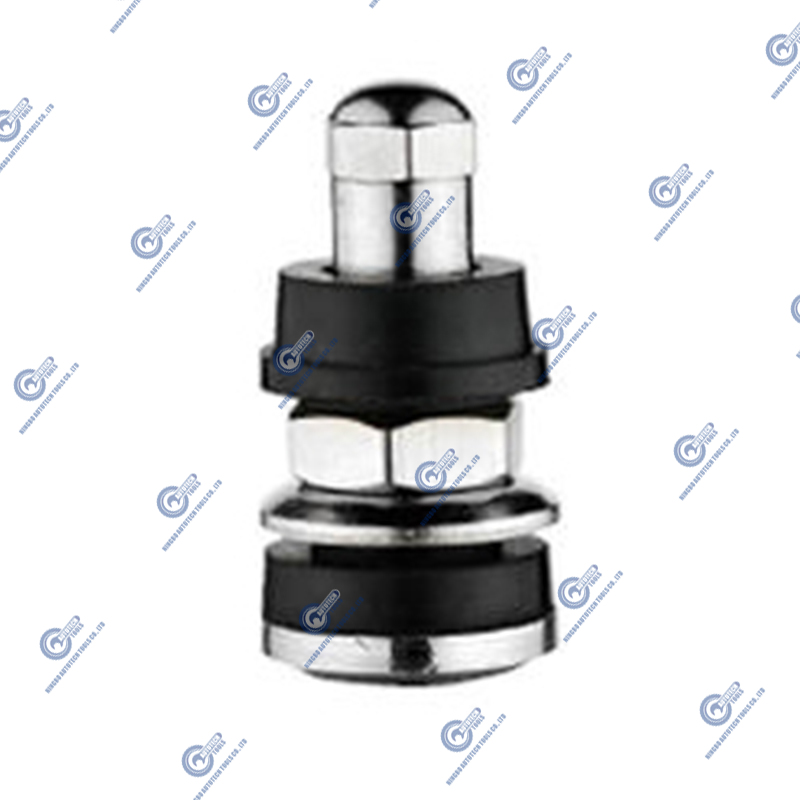
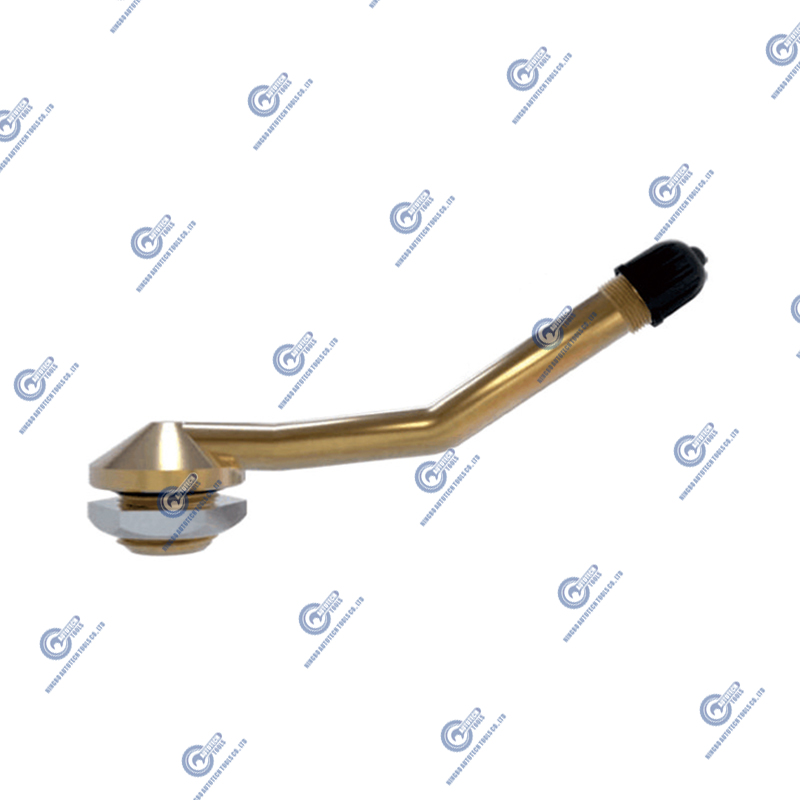
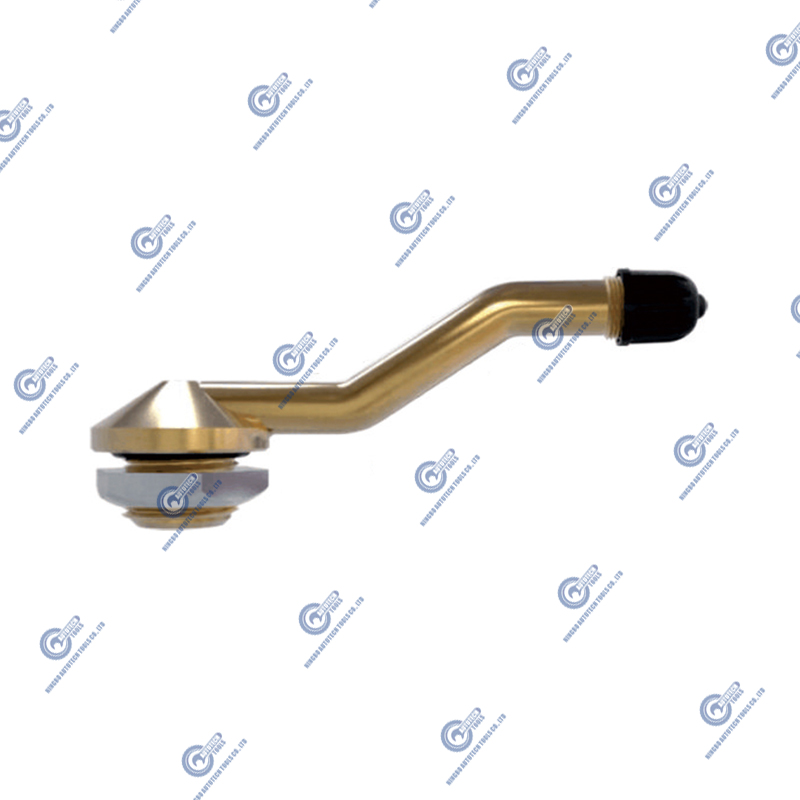
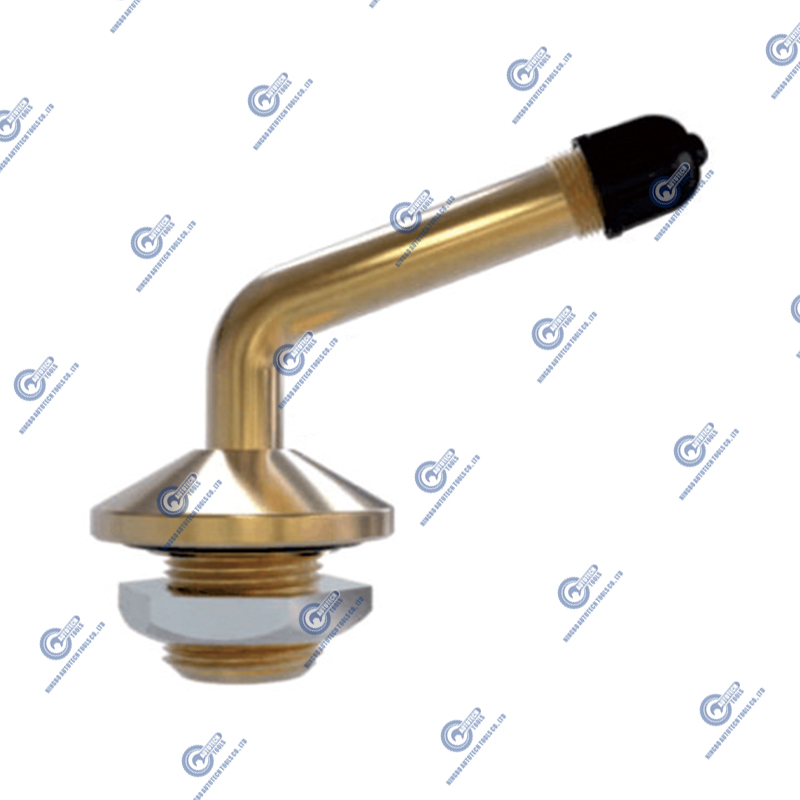
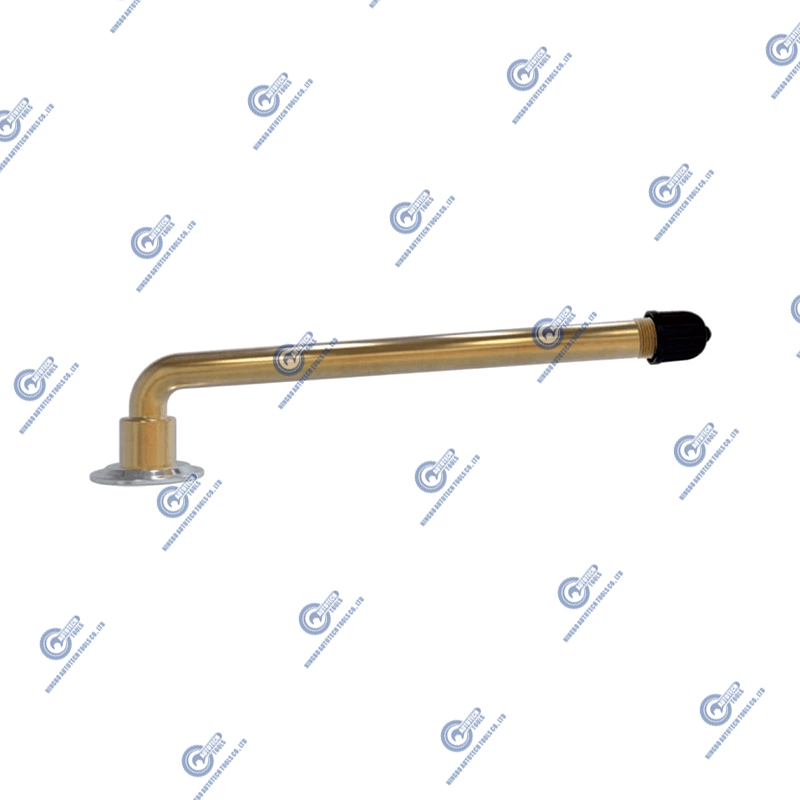
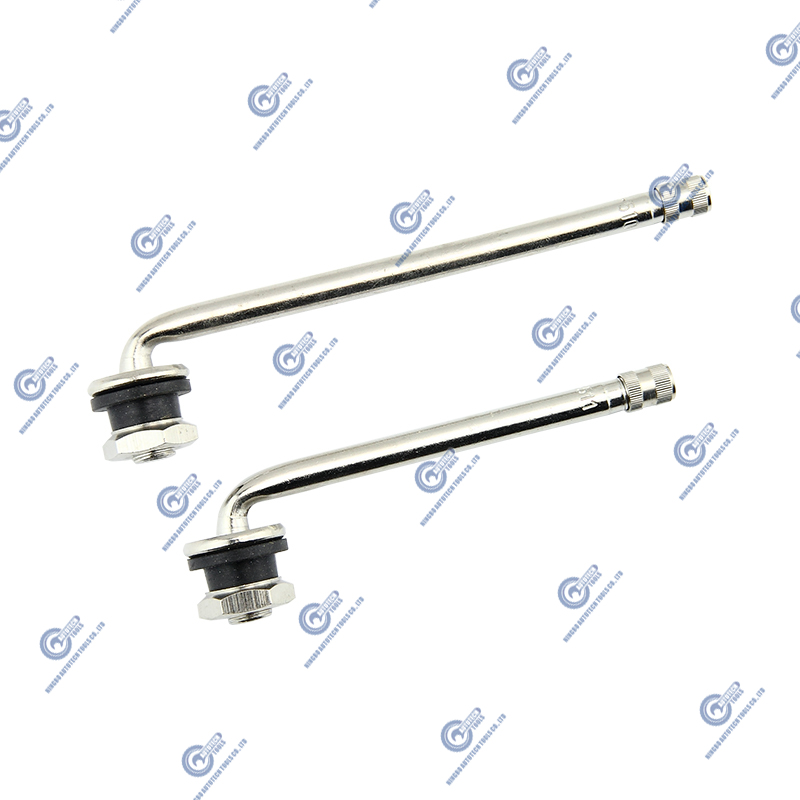
Inserting the bottom of the SNAP-IN TUBELESS TIRE VALVE into the rim hole is a critical step in the installation process. When inserting the air nozzle, make sure that the sealing gasket of the air nozzle fits the wheel rim hole completely to prevent future air leakage. Press the top of the air nozzle with your hand to ensure that it is firmly stuck in the hole without being deformed due to excessive pressure. At this time, pay attention to whether the position of the air nozzle is correct and do not let the air nozzle twist to avoid affecting the normal use of the tire inflation and the air nozzle. Make sure that the air nozzle gasket is intact, which is essential to ensure the sealing. If you encounter resistance during installation, do not force it in, and check whether there is any debris affecting it first.
5. Fix the air nozzle
After the air nozzle is inserted into the wheel rim hole, you need to ensure that it is firmly fixed. Press the air nozzle gently with your hand and press hard at the root of the air nozzle to ensure that it is firmly stuck in the hole. At this time, you can use the air nozzle installation tool to assist to ensure a good seal between the air nozzle and the wheel rim. In this step, check the direction of the air nozzle and make sure it is facing outward so that it can be easily inflated and checked for air pressure in the future. When fixing the air nozzle, avoid applying excessive force to avoid damaging the air nozzle or the wheel rim. Make sure the valve is fully fixed before proceeding to the next step, which can effectively prevent leakage or loose valve problems in future use.
6. Install the tire
After completing the valve installation, the next step is to reinstall the tire on the rim. Align the tire with the rim and ensure that the valve can pass through the hole on the inside of the tire correctly. You can first put one edge of the tire into the rim, and then use a pry bar to gradually pry the other edge of the tire into the rim. When installing, make sure that the valve is not twisted and the overall position of the tire is correct. Be careful throughout the installation process to avoid any damage to the tire and rim. After the tire is installed, check the fit of the tire to the rim to ensure that there are no gaps so that it can be sealed when inflated.
7. Inflation
After the tire is installed, use an air pump to inflate the tire. Inflate slowly and evenly according to the recommended pressure value on the side of the tire to avoid unexpected situations that may be caused by over-inflation. When inflating, check the status of the valve from time to time to ensure that the valve is not loose or leaking due to the impact of the inflation process. When the tire reaches the recommended pressure, stop inflating immediately and confirm the air pressure with a pressure gauge. At this time, you can check the valve to ensure that the valve has good sealing performance. After inflation, make sure that the shape and posture of the tire are uniform and there is no deformation to provide good support for vehicle driving.
8. Check the sealing
After inflation, it is important to check the sealing of the SNAP-IN TUBELESS TIRE VALVES. You can use soapy water to apply around the valve to observe whether there are bubbles. The appearance of bubbles means that there is a leak and the valve needs to be adjusted or replaced immediately. If a leak is found, the air pressure in the tire should be released first, then the valve should be carefully removed, and the sealing gasket should be checked to see if it is intact, and the wheel rim hole should be clean and free of debris. After the repair is completed, reinstall the valve, inflate and check again. If there is no leak, the area around the valve should be kept dry and flat to ensure safe driving.
9. Reinstall the tire
After ensuring that all steps are completed and checked, the tire can be installed back on the vehicle. Align the tire to the fixed position of the wheel, making sure that the joint between the valve and the rim is not twisted or damaged. After placing the tire into the wheel by hand, make sure the tire is properly aligned, and then use a wrench to tighten the nuts one by one evenly to prevent the tire from being damaged due to uneven pressure. During the whole process, make sure that each nut is tightened in place to ensure the safety and stability of the tire. After reinstalling, it is recommended to conduct a check before driving to confirm whether the tire is firmly fixed.


